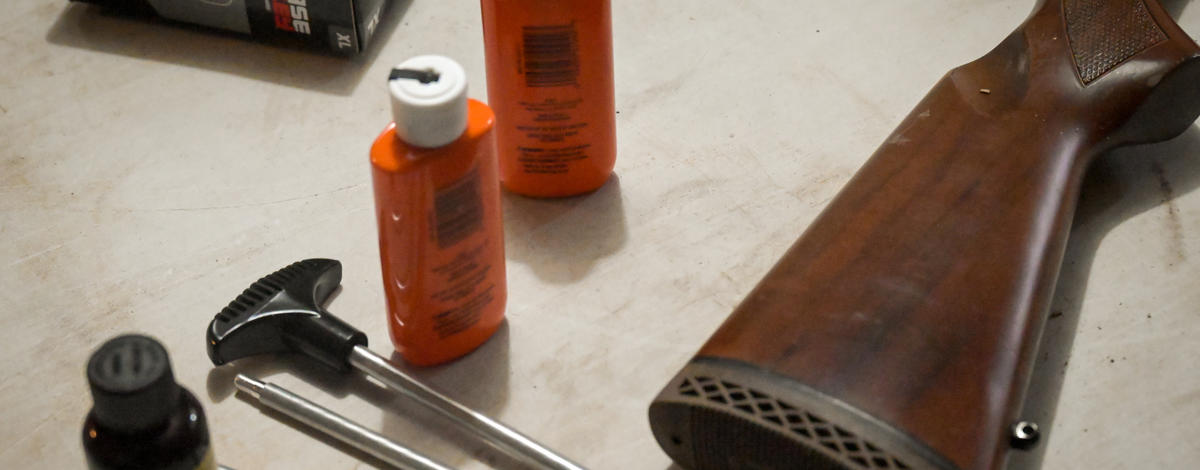
Here's a quick and easy guide (and reminder) to clean your firearms and condition them for next season.
Preparation
Before you run downstairs and take every clamp and screw off your firearm, do a little housekeeping. Pick out a suitable, clean work area with ample space to set aside parts and tools.
Make sure your workstation is well-lit and has good air flow, since you’ll be working with cleaning agents.
A sturdy table is a must. Resting your prized firearm on a stack of cardboard boxes is a surefire way to break some expensive features. Also be sure that the table is not one that hosts the family at dinner time. Gun cleaning solvents are greasy and can be toxic, so don’t clean your firearm on, say, the same table to process your game meat.
Know how your firearm works
Being a responsible firearm owner is more than just knowing where to point the muzzle and when to squeeze the trigger. Firearm assembly can vary from manufacturer to manufacturer, so making sure you have an updated copy of the firearm’s manual is important in understanding how to take things apart, or even more importantly, how to put them back together. A lot of pride went in to building that firearm, and you should dedicate the same amount of pride to caring for it.
Elbow grease
It’s time to get to work. Whether the bulk of your time was spent hunting deer with a rifle or grouse with a small-gauge shotgun, the principle is always the same. Different firearms, however, require different strategies when it comes to cleaning, but the tools and concept is roughly the same.
Tools you should have in your cleaning kit:
- Cleaning rod
- Bore brush (that matches the caliber of your firearm)
- Pull-through bore cleaning tool
- Cleaning jags (slotted and form-fitting for holding patches)
- Cloth patches
- Utility brushes
- Cotton swabs
- Gun oil
- Cleaning chemicals, including bore cleaners, action cleaners, and lubricants